
Window Light or Open Shade: Choosing Your Setup for a Neighbour's Portrait
Two lighting options for an honest portrait evening, window light indoors and open shade outdoors, compared on mood, control and comfort for the sitter, with a clear recommendation.
Luc Tremblay · · 6 min read
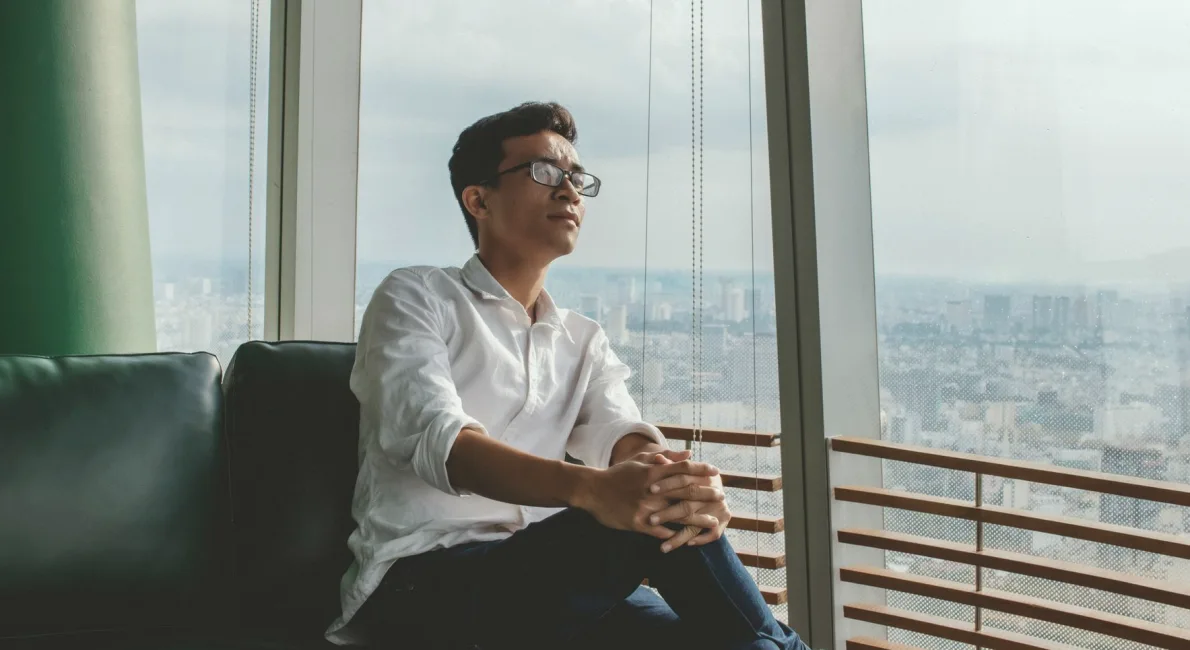
Two ways to light a willing neighbour
At Portrait Study Evenings we keep returning to one question: where should the sitter be placed so the light does the quiet work? Over the autumn weeks I have watched members try two setups side by side, and this note compares them plainly. The first is window light indoors, with the sitter a short distance from a large pane. The second is open shade outdoors, in the shadow of a porch, a wall or a tree, where the sky itself becomes the light source.
Neither option needs a flash, a reflector kit or any special purchase. Both suit the hands-on format of the evenings, where a neighbour has agreed to sit and everyone else is learning to see. What differs is how much you can steer the result, how relaxed the sitter feels, and how the picture ends up reading when printed. I will take each in turn and then say which one I would start with.
I should say that I coordinate our print reviews, so I tend to judge a setup by how it looks on paper after the session. A portrait that seems fine on a camera screen can fall apart in print, and that habit shapes the comparison below.
Window light: quiet, directional and easy to read
A north-facing or softly shaded window gives a gentle, directional light that falls off across the face. One side is brighter, the other darker, and that gradual change is what gives a portrait its shape. You can see exactly where the light lands before you press the shutter, which makes it a good teacher for anyone still learning to read faces.
The sitter is also indoors, out of the wind and away from passers-by. For many neighbours that matters more than any technical point. People who say they hate being photographed often loosen up in a familiar room with a cup of tea within reach. The conversation carries on naturally, and the expressions that come out of it tend to be unposed.
The drawbacks are real, though. Autumn afternoons fade fast, and a window that gave beautiful light at two o'clock can turn dim and grey by four. Slow shutter speeds then become a problem, and faces blur.
- Easy to see how the light falls before shooting
- Comfortable setting for nervous sitters
- Light fades quickly on short autumn afternoons
Open shade: more space, less control
Open shade is the outdoor cousin of window light. Stand your sitter under a covered porch or beside a wall that blocks direct sun, and the light becomes even and soft, with no harsh shadows under the eyes. It is forgiving, and it suits faces of every age without much adjusting.
The great advantage is room to work. You can move around, change the background in a few steps and give the sitter a place that means something to them, such as their own front step or the corner where they usually stop to talk. Those settings add context that a plain indoor wall cannot.
The cost is that you hand some control to the weather and the street. Cloud shifts the brightness from one frame to the next, colour can lean cool, and a neighbour walking by may break the mood. Some sitters also feel exposed in public view. Open shade rewards patience, and it is harder to repeat the same result twice.
How the two compare side by side
On shape and mood, window light wins. The one-directional fall-off gives faces more depth, and you can repeat the setup from week to week by marking where the chair sat. For a member who wants to learn how light models a face, this is the clearer lesson.
On comfort and setting, open shade often wins. The sitter stays in their own surroundings, the light is generous and the margin for error is wide, so exposures are easier to get right. For a newcomer holding a camera for the first time, fewer things go wrong.
On consistency, window light is steadier within a session, while open shade shifts with the sky. On storytelling, open shade carries more of the place. In print, I find window portraits hold tone more smoothly, while outdoor ones show more of the person's world.
If you weigh these honestly, the two are closer than the usual arguments suggest. The right pick depends on what you want the picture to say and who is sitting for you.
- Shape and depth: window light
- Ease and forgiveness: open shade
- Sense of place: open shade
- Repeatability: window light
My recommendation for your first sitting
Start with window light. I say this because it lets you learn one thing at a time. You see the light, you adjust the chair, you watch the face change, and the lesson stays clear because the conditions hold still long enough for you to notice cause and effect.
Choose a window with soft, indirect daylight, switch off the room lamps so the colours do not mix, and seat your neighbour about an arm's length or two from the glass, turned a little toward it. Take the first few frames without asking for any expression, then talk about something ordinary and keep shooting while they answer.
Once you can predict where the shadow will fall, take the same skill outdoors. Open shade then becomes a choice rather than a gamble, and you will know what to look for in it. Many members find the second sitting easier for exactly this reason.
Keep the session short. Twenty to thirty minutes is plenty, and a tired sitter gives you worse pictures than a rushed photographer does.
Consent and care, whichever light you pick
Whatever light you choose, the sitter is a neighbour who agreed to help, and that agreement deserves respect. Tell them how the picture may be used, show them the frames you like, and let them say which ones stay private. At the evenings we ask members to confirm this before anything is printed or shared.
Window light makes this easier, since the session is private and unhurried. Outdoors, be mindful of anyone who wanders into the background and did not agree to appear. Crop or reframe rather than assume.
Afterwards, bring a print or two to a review night. Luc's habit, and mine, is to look at the printed face first and the technical details second. If the person looks like themselves, the light did its job.
- Explain how the portrait may be used
- Let the sitter choose which frames stay private
- Mind bystanders when shooting outdoors
Window light and open shade each have a place, and a good portraitist ends up using both. For a first sitting, I would choose the window: it shows you how light shapes a face, it keeps the sitter comfortable and it holds still long enough to learn from. Move outdoors once the lesson has settled in. Whichever you pick, treat your neighbour's trust as the real subject, and bring the prints along so we can look at them together.